
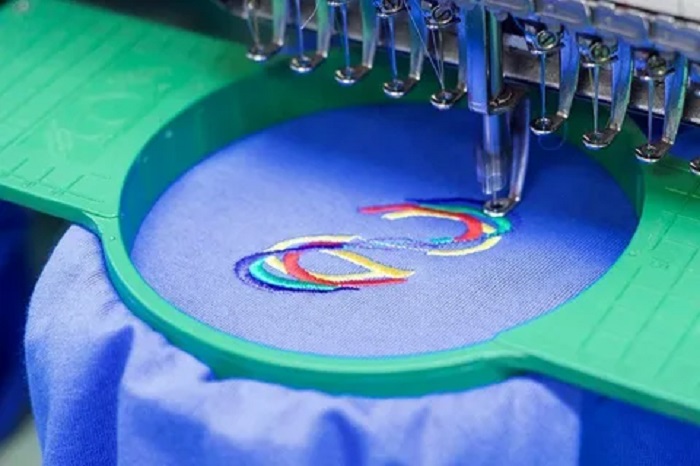
A logo that looks sharp on screen can turn into a puckered, fuzzy patch on fabric if it is not prepared for embroidery. The difference lies in digitizing, the process of translating artwork into stitch instructions. Understanding the basics helps you brief an embroidery partner properly and judge the results. Studios like https://koskastudio.com/ handle this step before any garment is stitched, so brands can focus on design rather than machine settings.
What digitizing is
An embroidery machine does not read a PNG or a PDF. It follows a file, often DST or PES, that tells it where to place each stitch, in which direction and in what order. Digitizing converts your logo into those instructions. A skilled digitizer decides which areas become fill stitches, which become satin stitches and where the thread should travel.
Stitch density
Density is how closely stitches sit together. Too low, and the fabric shows through; too high, and the design becomes stiff, heavy and can pucker the garment. The right density depends on the fabric: a thick hoodie takes more than a thin tee or a cap. Reviewing density before production is one of the best predictors of a clean result.
Thread tension
Correct tension keeps stitches flat and even. If it is off, you may see loops on the surface or fabric pulling around the design. Good studios test the design on the fabric so that tension and thread behave as expected before the full batch.
Satin stitch versus fill stitch
Satin stitches create smooth, shiny lines and work well for lettering and borders. Fill stitches cover larger areas with texture. Many logos combine both. There is also 3D puff embroidery, which raises parts of the design for a bold, tactile look commonly seen on heavyweight streetwear hoodies and caps.
Size and detail limits
Fine details disappear at small sizes. Text below a certain height becomes illegible, and thin lines can blur together. When you brief a studio, give the target width and height and expect a recommendation if your design needs simplifying.
How to prepare your artwork
- Send vector files (AI, PDF, SVG) if possible.
- Limit colors; each additional color means an extra thread change.
- State the placement and dimensions.
- Mention the fabric and garment type.
- If you only have a rough image, ask for digitizing from that reference.
Proofing before production
A reliable workflow includes a digital proof of the digitized file for your approval before the full batch is stitched. This is the moment to check proportions, colors and placement.
Clean embroidery comes from preparation: good artwork, careful digitizing and a quick check before production. Once those pieces are in place, the same logo can be repeated consistently across caps, hoodies, polos and workwear.